Fixing a Wobbly Chair Leg Without Buying New Furniture
A step-by-step fix for loose chair joints using basic tools you likely already own or can borrow.
6 min readBy Priya Desai
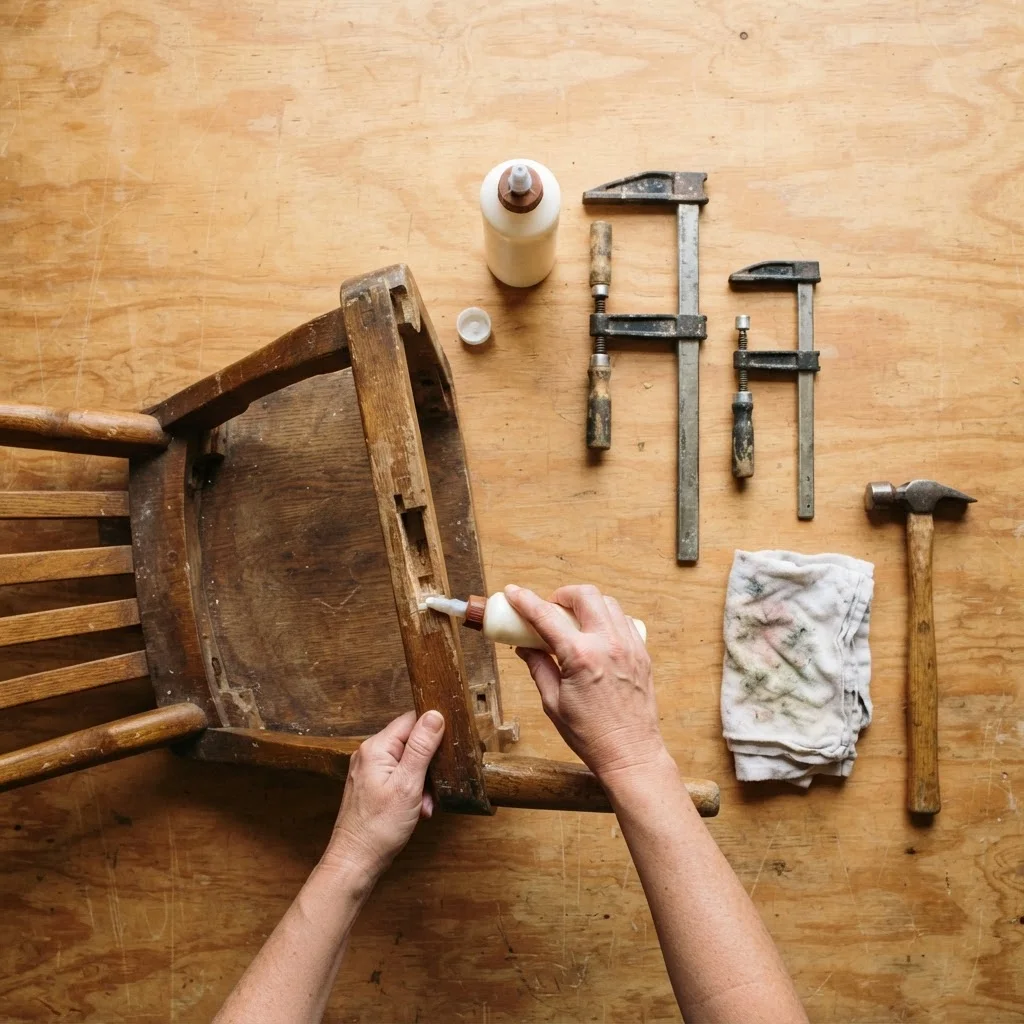
Table of Contents
That wobble you feel every time someone leans back at the dinner table isn’t a sign the chair is doomed—it’s almost always a loose joint, and loose joints are one of the most fixable things in your house. Before you start browsing for a replacement, give yourself twenty minutes and a few basic tools. There’s a decent chance you can make that chair sturdier than it’s been in years.
Diagnosing Why the Leg Wobbles
Chairs wobble for a handful of predictable reasons, and figuring out which one you’re dealing with tells you exactly how to fix it. Flip the chair upside down on a table or workbench so you can see the underside of the seat and the joints where the legs meet the frame.
- Loose joint, dry glue: Grab each leg and gently rock it. If you feel movement right at the joint where the leg meets the seat frame or an apron (the horizontal support piece), and you can hear a faint creak or see a hairline gap, the old glue has likely dried out and cracked. This is the most common cause and the easiest to fix.
- Worn or split dowel: Many chairs use wooden dowels (like thick pegs) to join legs to the frame. If the dowel itself is cracked or worn down, the joint won’t tighten no matter how much glue you add without addressing the dowel.
- Loose corner bracket or screws: Some chairs, especially newer or flat-pack ones, use metal corner braces and screws instead of glued joints. If you see hardware, the fix is usually about tightening or replacing the screws.
- Uneven leg length: Set the chair right-side up on a flat floor and rock it gently. If it wobbles diagonally (front-left and back-right lift together) rather than at one specific joint, the problem might just be one leg is shorter than the others, possibly from wear or a bad repair.
Most household wobbles trace back to that first cause—a dry, cracked glue joint—so that’s the fix we’ll focus on. If you land on worn dowels or uneven legs, skip to the repair cafe section below.
Tools and Glue You’ll Need
This is a low-cost, low-tool job. Check your junk drawer and garage before buying anything.
- Wood glue (also called carpenter’s glue)—the standard yellow kind works fine for most furniture repairs. Avoid super glue or all-purpose craft glue; they don’t hold up to the stress a chair leg takes.
- A small brush, toothpick, or thin scrap of cardboard to spread glue into tight joints.
- A rubber mallet or a regular hammer with a wood block to tap joints back together without cracking the wood.
- Clamps—a couple of adjustable bar clamps work best, but ratchet straps, a bungee cord, or even an old belt can hold pressure while glue dries.
- A screwdriver if your chair has any visible screws or corner brackets.
- A rag and some rubbing alcohol or warm soapy water for cleanup.
- Sandpaper (fine grit, around 220) for cleaning old glue out of the joint.
If you don’t own clamps, don’t buy a set for a one-time fix. A tool library is exactly the kind of place built for this—check if your area has one before assuming you need to purchase anything. Many public library systems also loan out basic tools now, so it’s worth a quick look at your library’s catalog.
Step-by-Step Tightening and Reinforcing
Work on one leg at a time so you don’t lose track of which joints you’ve already treated.
- Take the joint apart if you can. Gently wiggle and pull the loose leg to see if it separates from the frame. Don’t force it if it’s stubborn—some looseness is enough to work with in place. If it does come apart, great, that makes cleaning easier.
- Clean out the old glue. Old, cracked glue actually gets in the way of new glue bonding properly. Use sandpaper or the edge of a flathead screwdriver to scrape dried glue off both surfaces of the joint—the peg (or dowel) and the socket it fits into. You want to see clean wood, not old glue flakes.
- Test fit before gluing. Push the pieces together dry to make sure they still fit snugly. If the joint feels loose even without glue in the way, that’s fine—glue plus clamping pressure will often take up minor gaps. If it’s very loose, note that; you may need the reinforcement trick in step 6.
- Apply glue to both surfaces. Use your brush or toothpick to coat the inside of the socket and the peg or dowel end. Don’t drown it—a thin, even layer on both sides is what you want. Too much glue squeezes out and makes a mess, and can actually weaken the bond by keeping surfaces from sitting flush.
- Push the joint together and clamp it. Fit the leg back into place, tapping gently with your mallet or hammer-and-block if needed to seat it fully. Then clamp across the joint—or wrap a ratchet strap or bungee around the whole chair base—to hold everything under pressure. Wipe away any glue that squeezes out with a damp rag before it dries.
- For a joint that’s loose even dry, reinforce it. If the peg or dowel has worn down and won’t sit tightly no matter what, wrap a few threads of natural fiber string or a thin strip of wood veneer around the peg, add glue, and reinsert. This bulks up the peg just enough to fill the socket snugly. It’s a genuinely old trick, and it works.
- Let it cure fully. Wood glue sets in about 20–30 minutes but needs real curing time—typically 24 hours—before the chair goes back into daily use. Check your glue bottle’s label for exact times, since they vary by brand. Leave the clamps on for at least a few hours, ideally overnight.
- Check screws and brackets, too. While you’re under there, snug up any visible screws with your screwdriver. Wood screws can back out slightly over time just from normal use, and tightening them takes thirty seconds.
Once it’s dry, flip the chair over, sit on it, and rock your weight side to side and front to back. A properly glued and clamped joint should feel solid—no creak, no flex.
When to Bring It to a Repair Cafe Instead
Not every wobble is a weekend DIY job, and that’s completely fine—this is exactly the kind of situation repair cafes exist for. A repair cafe is a free or pay-what-you-can community event where volunteers with hands-on skills help you fix household items, often including furniture, rather than you having to figure it out solo or pay a professional.
Consider heading to one if:
- The wood itself is cracked or split, not just the joint. Repairing broken wood often calls for techniques like doweling or wood filler that benefit from an experienced hand.
- You’re dealing with a valuable or sentimental piece—an antique, an inherited chair, something with sentimental weight where you’d rather not risk a beginner mistake.
- Multiple joints are failing at once and the chair feels structurally shaky overall, not just one wobbly leg.
- You don’t have anywhere to let it sit clamped for a day</strong, or you don’t want to invest in clamps and glue for what feels like a bigger job than expected.
- You’d genuinely enjoy learning the skill in person. Repair cafe volunteers are usually happy to walk you through the process hands-on, which sticks better than any article, including this one.
Search for “repair cafe” plus your city or county name to find upcoming events—many run on a regular monthly schedule at libraries, community centers, or churches. Some areas also have general “fix-it clinics” under a different name, so it’s worth casting a slightly wider search net. Either way, you’ll walk out with a sturdier chair, a new skill, and zero trip to the furniture store.