Mending Basics: Fixing Zippers, Buttons, and Torn Seams Yourself
Simple hand-sewing fixes that save your favorite clothes from the donation pile.
6 min readBy Priya Desai
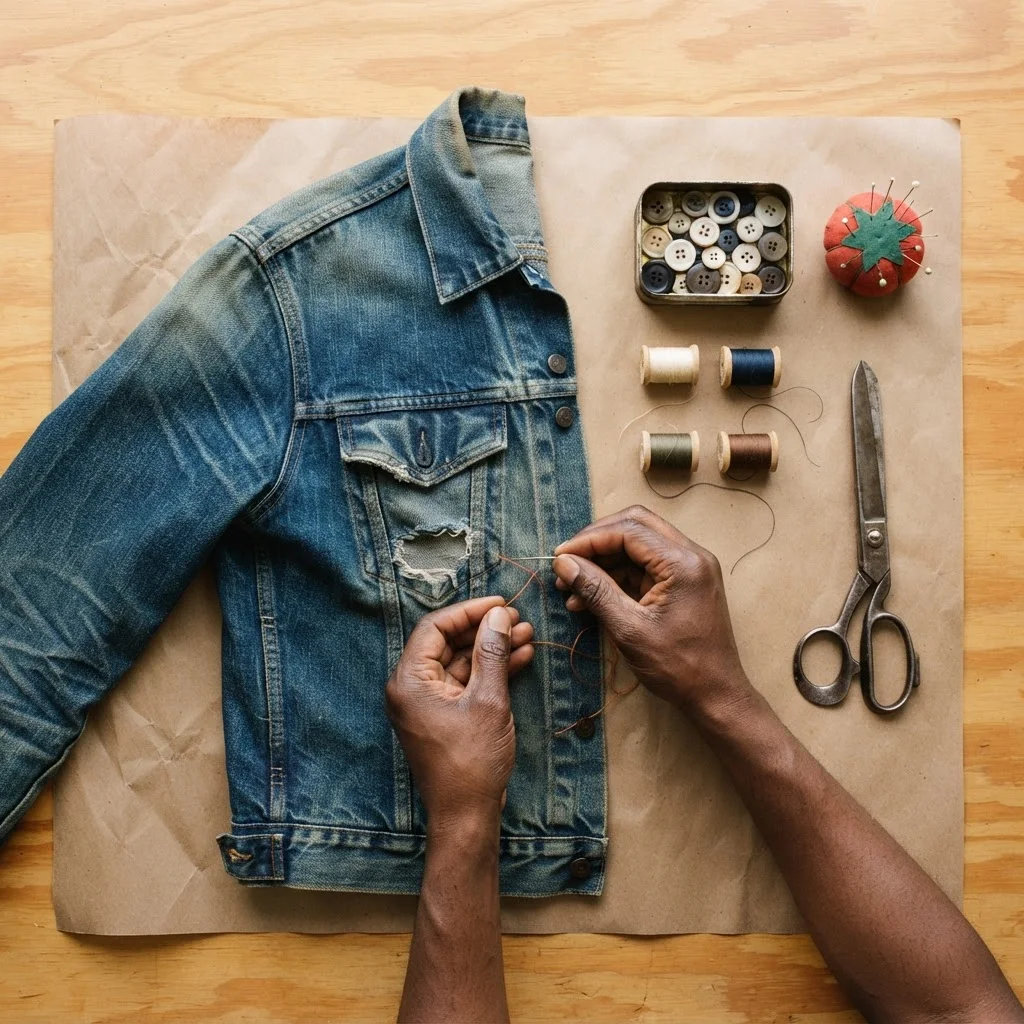
Table of Contents
A basic mending kit worth keeping
You don’t need a sewing room or a machine to handle most clothing repairs. A small kit tucked in a drawer will cover the vast majority of “oh no, not my favorite shirt” moments. Here’s what earns a permanent spot:
- Needles, assorted sizes. A thin needle glides through lightweight cotton and knits; a thicker one is needed for denim, canvas, or upholstery-weight fabric.
- Thread in a few core colors. Black, white, navy, and gray will get you through most repairs without a perfect match. Polyester thread is a good all-purpose choice because it has a little give and doesn’t rot the way old cotton thread can.
- A thimble. Pushing a needle through thick fabric or a stack of layers (like a waistband) hurts without one.
- Small, sharp scissors. Kitchen scissors crush fabric edges. A pair of embroidery or thread scissors gives you a clean snip.
- Seam ripper. For undoing stitches gone wrong or opening a hem without shredding the fabric.
- Straight pins and a pin cushion (or magnetic dish). Pinning holds fabric in place so it doesn’t shift while you sew.
- Spare buttons. Save buttons from clothes before you toss them, or buy a mixed jar. You’ll almost always find something close enough.
- Fabric glue or fusible bonding tape. Not a substitute for real stitching, but handy for quick, temporary fixes or hems in a pinch.
If you’d rather not buy a kit outright, this is exactly the kind of thing a tool library or neighborhood skill swap can supply. Many tool libraries keep a “soft goods” bin with needles, threaders, and even a shared sewing machine for members. Ask before you assume you have to buy everything new.
Fixing a stuck or separated zipper
Zippers seem mysterious until you understand that most problems come down to one of three things: gunk on the track, misaligned teeth, or a slider that’s worn out. Here’s how to sort out which one you’ve got.
If it’s stuck
Rub the zipper teeth with a graphite pencil, a bit of candle wax, or a dry bar of soap. Work it along both sides of the track, then gently ease the slider up and down. The lubricant fills tiny gaps and lets the slider move smoothly again. Avoid cooking oil or petroleum jelly — they attract dust and make the problem worse over time.
If the fabric is caught in the teeth
Don’t yank. Hold the fabric taut on either side of the snag and gently work the slider backward past the point where it’s stuck, then try again slowly, guiding the fabric away from the teeth as you go. A dab of lubricant helps here too.
If the two sides won’t stay zipped together
This usually means the slider itself has worn wide open and is skipping over the teeth instead of pulling them together. You can sometimes rescue it by using pliers to very gently squeeze the back of the slider (the flat side, not the teeth-facing side) so it grips more snugly. Test after each small squeeze — you’re trying to tighten it just enough to re-engage the teeth without cracking it.
If the slider is truly worn out or teeth are missing
At that point, replacement is the fix, not repair. Zipper sliders and full zipper kits are inexpensive and come with basic instructions, but swapping one out is fiddly work the first time. This is a great candidate for a repair cafe if one operates near you — someone there has almost certainly replaced a hundred zippers and can walk you through it or do it alongside you.
Reattaching buttons that actually stay on
A button that falls off again in a week usually failed because of thread that’s too thin, stitches that are too loose, or no reinforcement underneath. Here’s a method that holds:
- Thread your needle and double the thread, then knot the ends together so you’re sewing with four strands’ worth of strength.
- From the underside of the fabric, push the needle through to the front, then thread it through one hole of the button.
- Place a toothpick or matchstick flat across the top of the button, between the holes. Sew over it as you stitch through the button’s holes and back through the fabric — this creates slack.
- Repeat through each hole 5–6 times, keeping tension even but not tight.
- Remove the toothpick. You’ll see extra thread length now sitting loose between the button and the fabric — that’s the “shank.”
- Pull the button up and away from the fabric slightly, and wrap the thread tightly around that slack thread several times, right underneath the button. This bundles the loose threads into a firm neck.
- Push the needle through to the underside of the fabric, and tie off with a few small stitches or a knot.
That shank matters more than people realize — it gives the button room to sit naturally through the buttonhole instead of straining the threads flat against the fabric every time you fasten it. Skipping this step is the number one reason buttons come off again quickly.
For four-hole buttons, you can sew straight across in two parallel lines or in an X pattern — either works. Match the original stitching pattern if there’s a faint mark left on the fabric from before.
Repairing a torn seam by hand
Seams — the stitched lines joining two pieces of fabric — usually fail at a stress point: underarms, crotch seams, backpack straps, the side of a fitted shirt. The good news is that a torn seam is one of the easier repairs, because the fabric itself is usually fine; only the thread gave out.
Getting ready
Turn the garment inside out so you’re working on the wrong side of the fabric, where stitches won’t show. Press or smooth the torn edges back together so they line up the way they originally did. Pin them in place every inch or so.
The backstitch
This is the strongest hand stitch for seams and worth learning once, since you’ll use it constantly:
- Knot your thread and bring the needle up through both fabric layers at the start of the tear.
- Take the needle back down a short distance behind where you started (roughly an eighth of an inch), then bring it up an equal distance ahead of your starting point.
- Insert the needle back down into the same hole where your first stitch ended — this is what creates the strength, since each stitch overlaps the last.
- Continue forward, always stepping back into the previous hole before moving ahead, until you’re past the torn section and into solid, unbroken stitching by about half an inch.
- Knot off on the underside and trim the thread.
Turn the garment right-side out and check that the seam lies flat without puckering. If it bunches slightly, that’s normal with hand stitching and usually relaxes after a wash and wear.
When the fabric itself is worn thin at the seam
If the tear happened because the fabric around it is thin or fraying — not just the thread — stitching alone won’t hold for long. A small patch of iron-on interfacing on the inside, placed before you sew, gives the stitches something sturdier to grip.
When it’s beyond a quick fix
Bigger tears, stretched-out knits, or repairs on structured items like coats and bags are still very doable — they just take more patience or specialized tools like a machine. Before you write off a piece as unfixable, bring it to a repair cafe or ask around at a skill swap. Someone with a sewing machine and a few years of practice can often mend in ten minutes what would take you an hour of hand-stitching, and you’ll likely pick up a trick or two for next time.