How to Patch a Torn Window Screen in Under 30 Minutes
A simple patch method to stop the bugs without replacing the whole screen.
5 min readBy Dave Kowalski
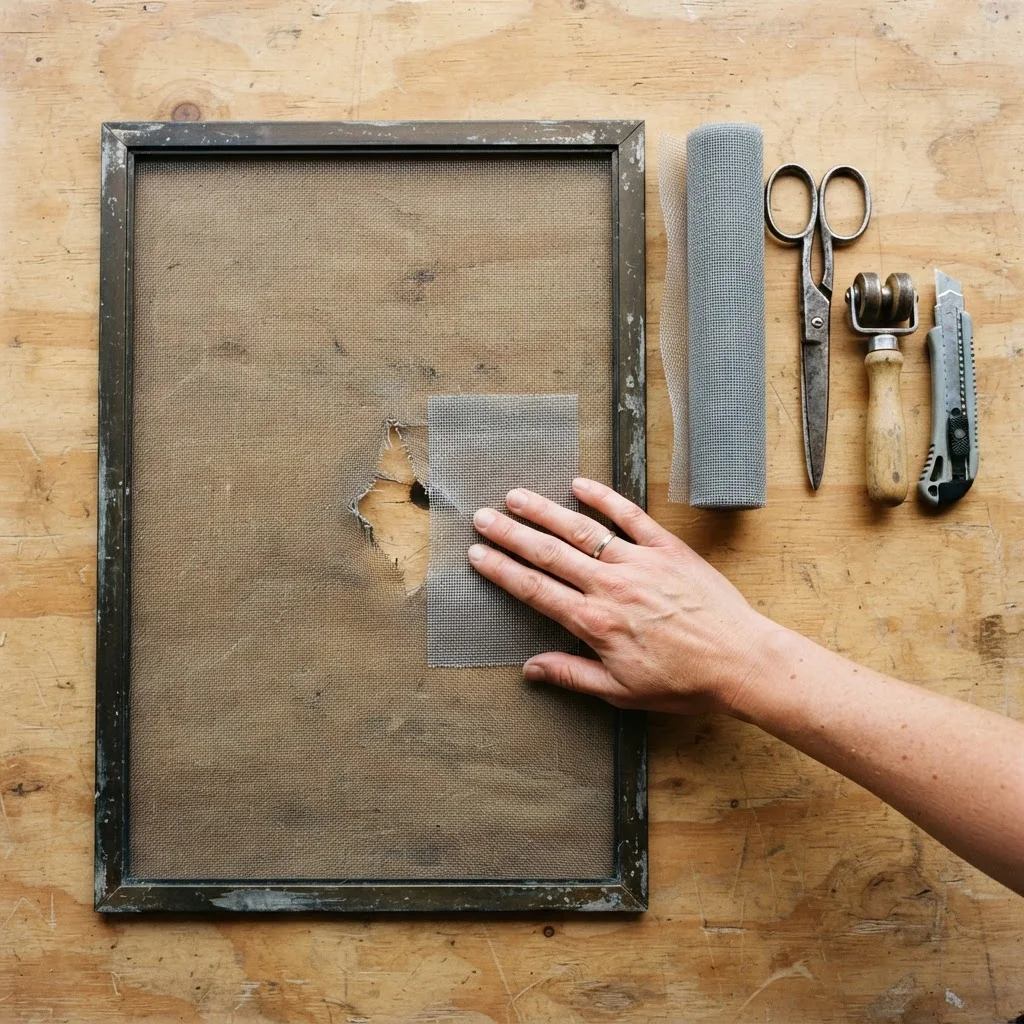
Table of Contents
There’s a special kind of summer frustration that comes from hearing a mosquito buzz past your ear at 2 a.m. and realizing your window screen has a hole in it big enough to drive a golf cart through. The good news? You almost never need to replace the whole screen for a tear, a poke, or a claw mark from an overly enthusiastic housecat. A patch job takes less time than a trip to the hardware store and costs next to nothing if you’ve got a few basic supplies on hand.
Assessing the Size and Location of the Tear
Before you grab any materials, take a good look at the damage. This determines both your patching method and whether patching is even the right call.
Small holes and short tears—think anything under a couple of inches, like a poke from a stray twig or a small snag—are prime candidates for a quick patch. These are common near the bottom of the screen (where pets and kids interact with it most) or at the corners, where the mesh naturally stresses over time.
Longer tears, especially straight-line rips along a fold, are still patchable, but you’ll want a patch that overlaps generously on all sides. As a rule of thumb, your patch should extend at least half an inch beyond the damaged area in every direction. Anything smaller and you’re just inviting the tear to keep growing.
Also check the location relative to the frame. Damage near the edge of the screen, close to where it meets the spline (the rubber cord that holds the mesh into the frame channel), can be trickier to patch cleanly because there’s less intact mesh to work with. In these spots, sometimes the more durable fix is re-securing that section with fresh spline rather than patching over it—still a DIY job, just a slightly different one.
Materials for a Quick Patch Job
You don’t need a specialty toolkit. Here’s what actually helps:
- A screen repair patch kit – these are inexpensive and often sold near the weatherstripping or screen door supplies. They typically include a small mesh patch with an adhesive edge.
- Leftover screen mesh – if you or a neighbor has scraps from a previous screen replacement, this works just as well and costs nothing. Tool libraries and some repair cafes keep general fix-it supplies like this on hand, so it’s worth asking before you buy.
- Clear-drying craft glue or a glue gun – useful as a backup or supplement to an adhesive patch, especially on vinyl-coated fiberglass screening.
- Scissors – for trimming the patch to size.
- A needle and thread (nylon or fishing line works great) – for a sew-style patch that holds up better in high-traffic spots, like a screen door.
- A hard, flat surface to work against, like a cutting board or a piece of cardboard, so you’re not pressing your patch into open air.
If you don’t have any screen material lying around, check a local Buy Nothing group or freecycling network before buying a whole roll. Screen repair is common enough that someone nearby probably has a leftover scrap from their own project gathering dust in a drawer.
Step-by-Step Patching Instructions
Here’s the part that actually takes under 30 minutes, start to finish.
- Clean the area. Wipe down the screen around the tear so dust and grime don’t interfere with adhesive or stitching.
- Flatten the damaged mesh. Gently push any bent or curled wire strands back into place. This gives your patch a smoother surface to bond with and helps the repair look less noticeable.
- Cut your patch. Whether you’re using a kit patch or a scrap of mesh, cut it so it overlaps the tear by at least half an inch on every side.
- Apply the patch.
- If it’s an adhesive patch, peel the backing and press it firmly over the tear from the outside of the screen (bugs approach from outside, so you want the smooth adhesive side facing them, not you).
- If you’re using glue, apply a thin, even line around the patch’s edges, not the whole surface, so it stays flexible instead of turning stiff and brittle.
- If you’re sewing, use small, closely spaced whip stitches around the patch’s perimeter, catching both the patch and the surrounding intact mesh.
- Press and hold. Apply firm, even pressure for about a minute if you’re using adhesive, so it seats fully into the mesh grid rather than just sitting on top.
- Trim stray threads or edges. Once secure, snip any loose mesh fibers poking out around the patch.
- Do a light stretch test. Gently press on the patched area from both sides to make sure it holds and doesn’t pucker or peel.
That’s it. For a small hole, most people can knock this out in ten minutes. Bigger tears with sewing might run closer to the half-hour mark, especially if it’s your first time threading a needle through mesh.
Signs You Need a Full Screen Replacement Instead
Patches are great for isolated damage, but they’re not a universal fix. Here’s when it’s time to stop patching and start over:
- Multiple tears across the same screen. If you’re looking at three or four different problem spots, a patchwork of patches will look worse than it needs to and won’t hold as well as fresh mesh.
- Sagging or loose screen material. If the mesh itself has stretched out and no longer sits taut in the frame, patches won’t restore the tension. That’s a sign the spline has aged out or the screen has simply been baked by sun and weather for too many seasons.
- Brittle or crumbling mesh. Give the screen a gentle press. If the material feels stiff, crackly, or the fibers snap rather than bend, it’s past patching. Old aluminum screens especially get this way and tend to corrode at the edges.
- Damage right at the frame or corner. Tears that run into the corner or along the very edge where the spline sits are hard to patch effectively because there isn’t enough surrounding material for a patch to grip.
- Frame damage, not just mesh damage. If the actual frame is bent, cracked, or no longer sits flush in the window track, that’s a separate repair from anything you can fix with a patch kit.
If you land in full-replacement territory, don’t assume it means a trip to a specialty store or a pricey pro. Re-screening a frame is a very doable weekend project, and it’s exactly the kind of skill that pops up at repair cafes or gets demonstrated in skill-swap groups. Borrowing a screen-rolling tool from a tool library instead of buying one you’ll use once is an easy way to keep the whole project cheap. Sometimes the neighborly route saves you more than just money—it means you walk away knowing how to do it yourself next time.